Quick Tips: How To Create Cloth Material In ZBrush
In this quick article, I'm gonna go over how to create a cloth material in ZBrush for your presentations. It really helps to sell your concepts to your directors.
It’s really a good idea to present our characters before going further in the pipeline. This way, the directors in charge, can have a clearer idea of how it’s gonna look in the end, and change some stuff if they need to. It’s much easier to change stuff at this stage anyways.
In bigger production pipelines, it’s a crucial task to check the concepts regularly. However, while it’s totally acceptable to even share a ZBrush screenshot, or a quick BPR render, it’s more appealing to present the art in style.
One aspect is the materials. Here, I’m gonna go step by step, over how I create cloth material for my concept presentations. Hope it comes handy for you guys as well.
The Concept Behind This Method
It’s really simple: pop out the cloth details, and make a fresnel look in your material. While ZBrush is not a real rendering engine, it has its own tools to help us create what we want.
Step By Step Guide
OK, so you have your cloth sculpt/simulation imported in ZBrush. Make sure that you have a nice UV layout for your cloth piece. It’s only needed for the cloth details, so don’t worry if you only need to use the material I’m gonna talk about.
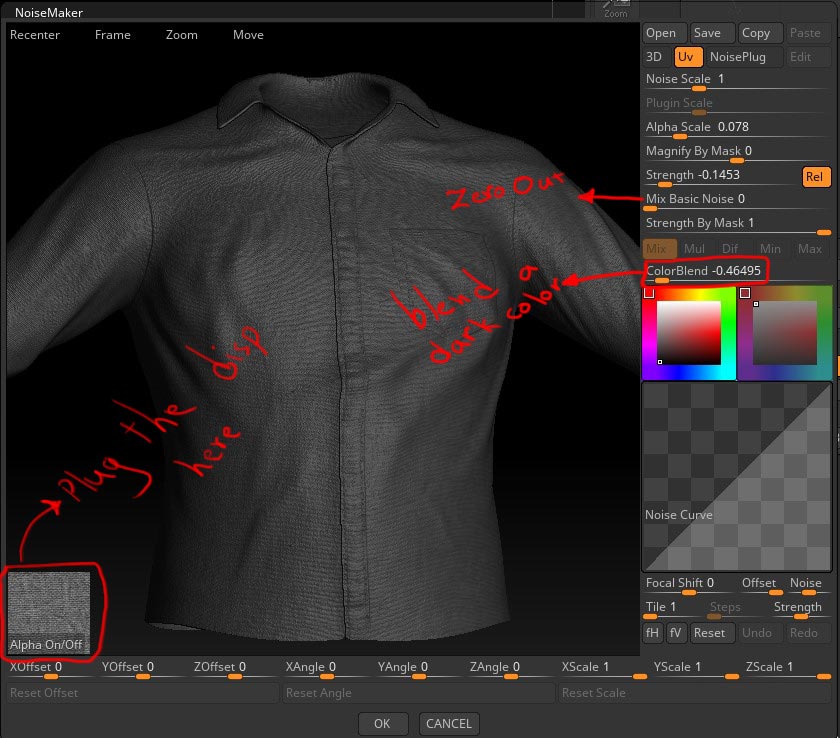
First, let’s add cloth texture on top of what we have, using the Noise maker under the Surface menu. You need proper UV layout, and a good tileable displacement texture map for this step. Open the NoiseMaker, the plug the disp image on the bottom left, where it says Alpha On/Off. Then, zero out the Mix Basic Noise slider to get rid of the unwanted noise. Then play with the sliders to get your desired Strength and Scale. The important part here could be underestimating the power of ColorBlend slider. Put it to a negative value to add more depth to your cloth’s look.
These are the settings I have in the NoiseMaker window:
Now, the real trick; the material. With your BasicMaterial selected, go to the Material menu, and click on CopySH under the Modifiers sub-menu, to copy the shader. Now, choose DoubleShade1 material in the Standard Materials palette.
If you have troubles previewing the material on your model, just make sure that the little brush button is turned off the Subtool menu. Now, you’re on track.
Next, while the DoubleShade1 active, click on PasteSH under the Modifiers sub-menu in the Material menu. Note that since this is a double shader, you have two slots named S1 and S2. Click on S2, and PasteSH again. After that, with S2 selected, crank up the Diffuse slider and go to the Mixer menu, then crank up the Fresnel slider as well. BOOM! That’s the trick! Now, it’s only a matter of playing with Diffuse, Specular and Ambient sliders of the slot 1 (S1) to get what you’re looking for. Usually, I keep all of them low.

Just so you know, you can use other multiple shaders as well; just turn off the extra slots and the rest is the same as explained.
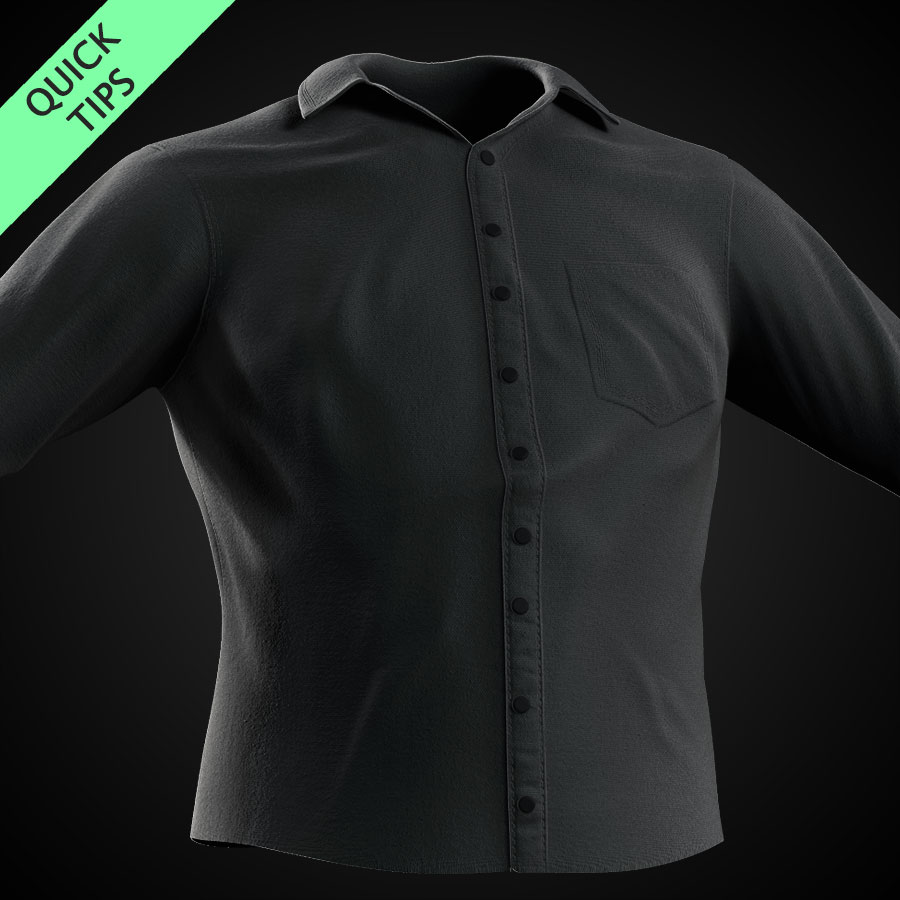
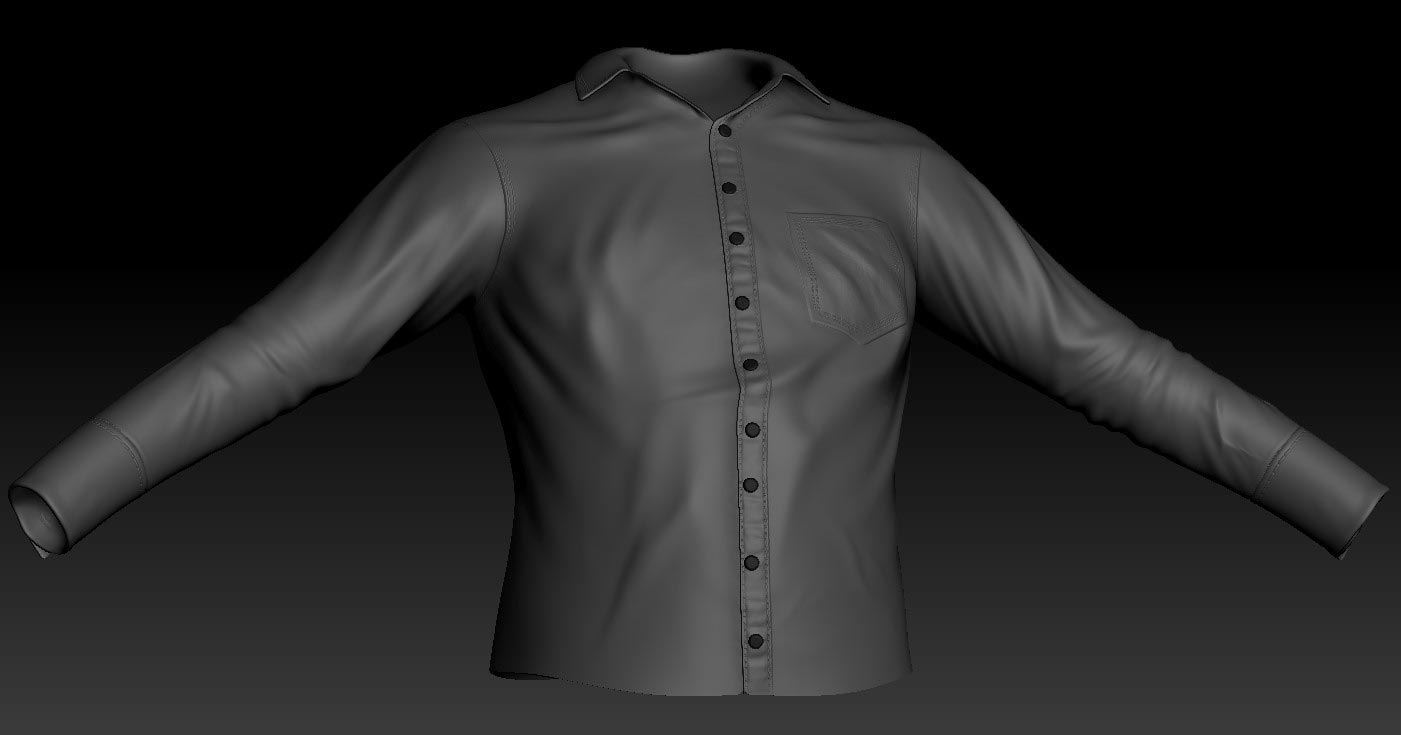
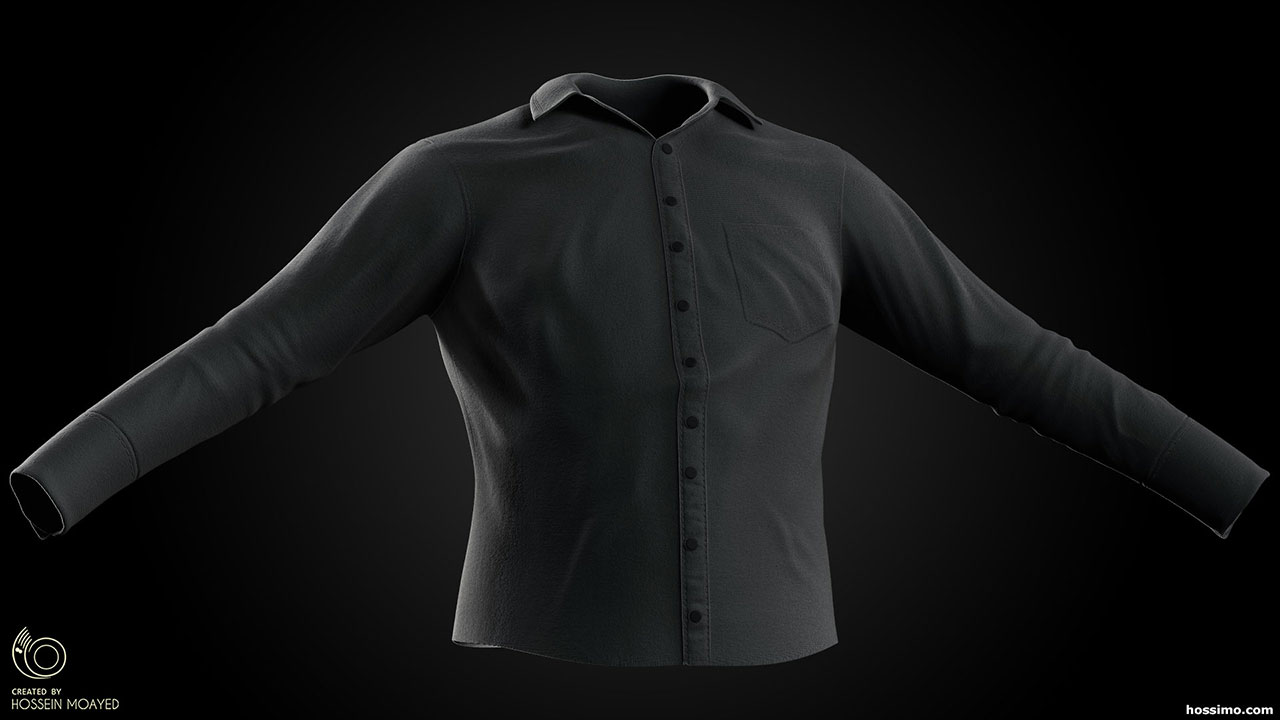
This is the ZBrush screenshot of what I got:
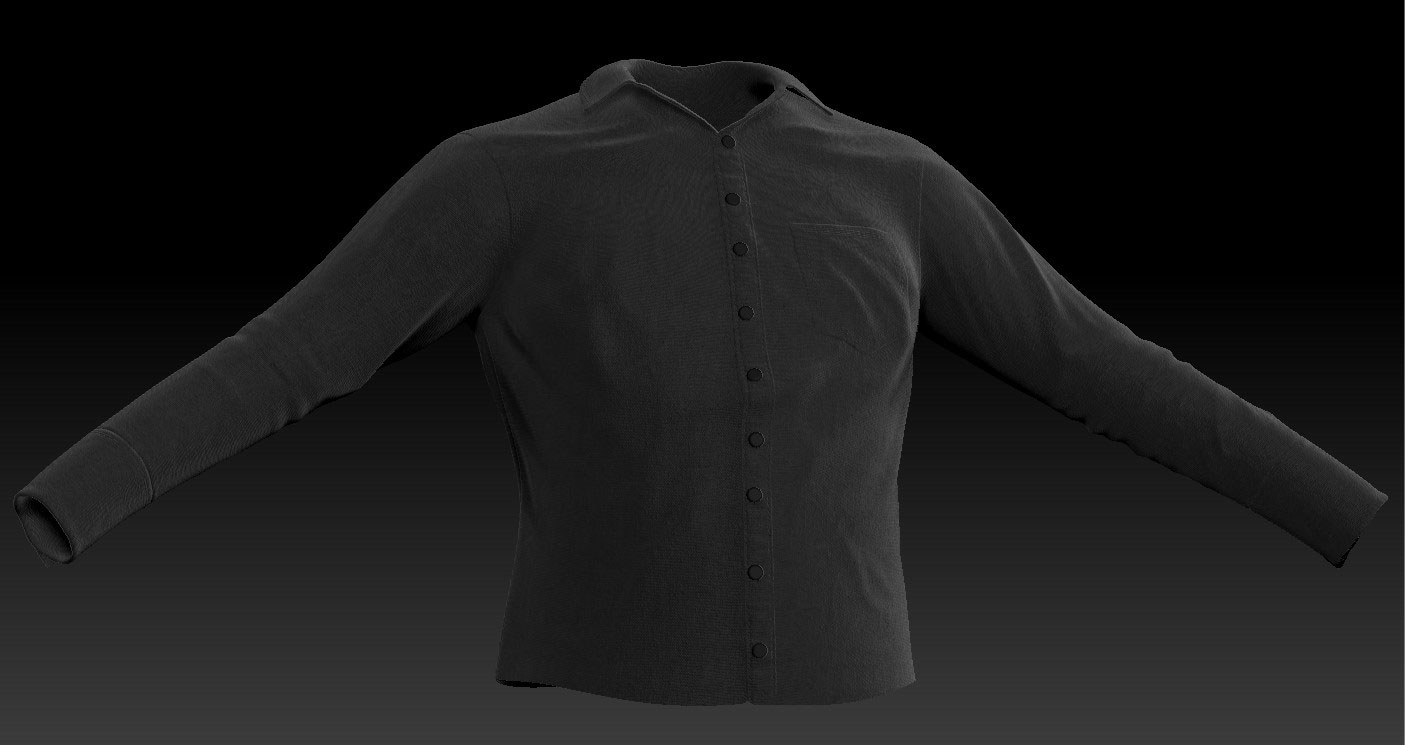
This is a quick BPR render I composited in Photoshop:
Remember, if you’re gonna render it using BPR, apply the noise to the mesh, and colorize the cavities to pop the details out in the render as well.
That’s it. Thanks for reading another article of mine. Hope it’s worth your time.
Cheers!